Creating an app
Apps are web applications that users can install to boost sales and enhance their Pipedrive experience. You can create two main types of apps, all requiring authentication via OAuth or the API token. Need some inspiration? Here are key areas of the sales cycle that Pipedrive users need apps for!
Ready to start working on your app? Read on to find out the main steps you should take, along with essential tips to get your app approved faster:
- What types of apps can you create?
- What is the process for creating an app?
- Key points to keep in mind when developing your app
Types of apps
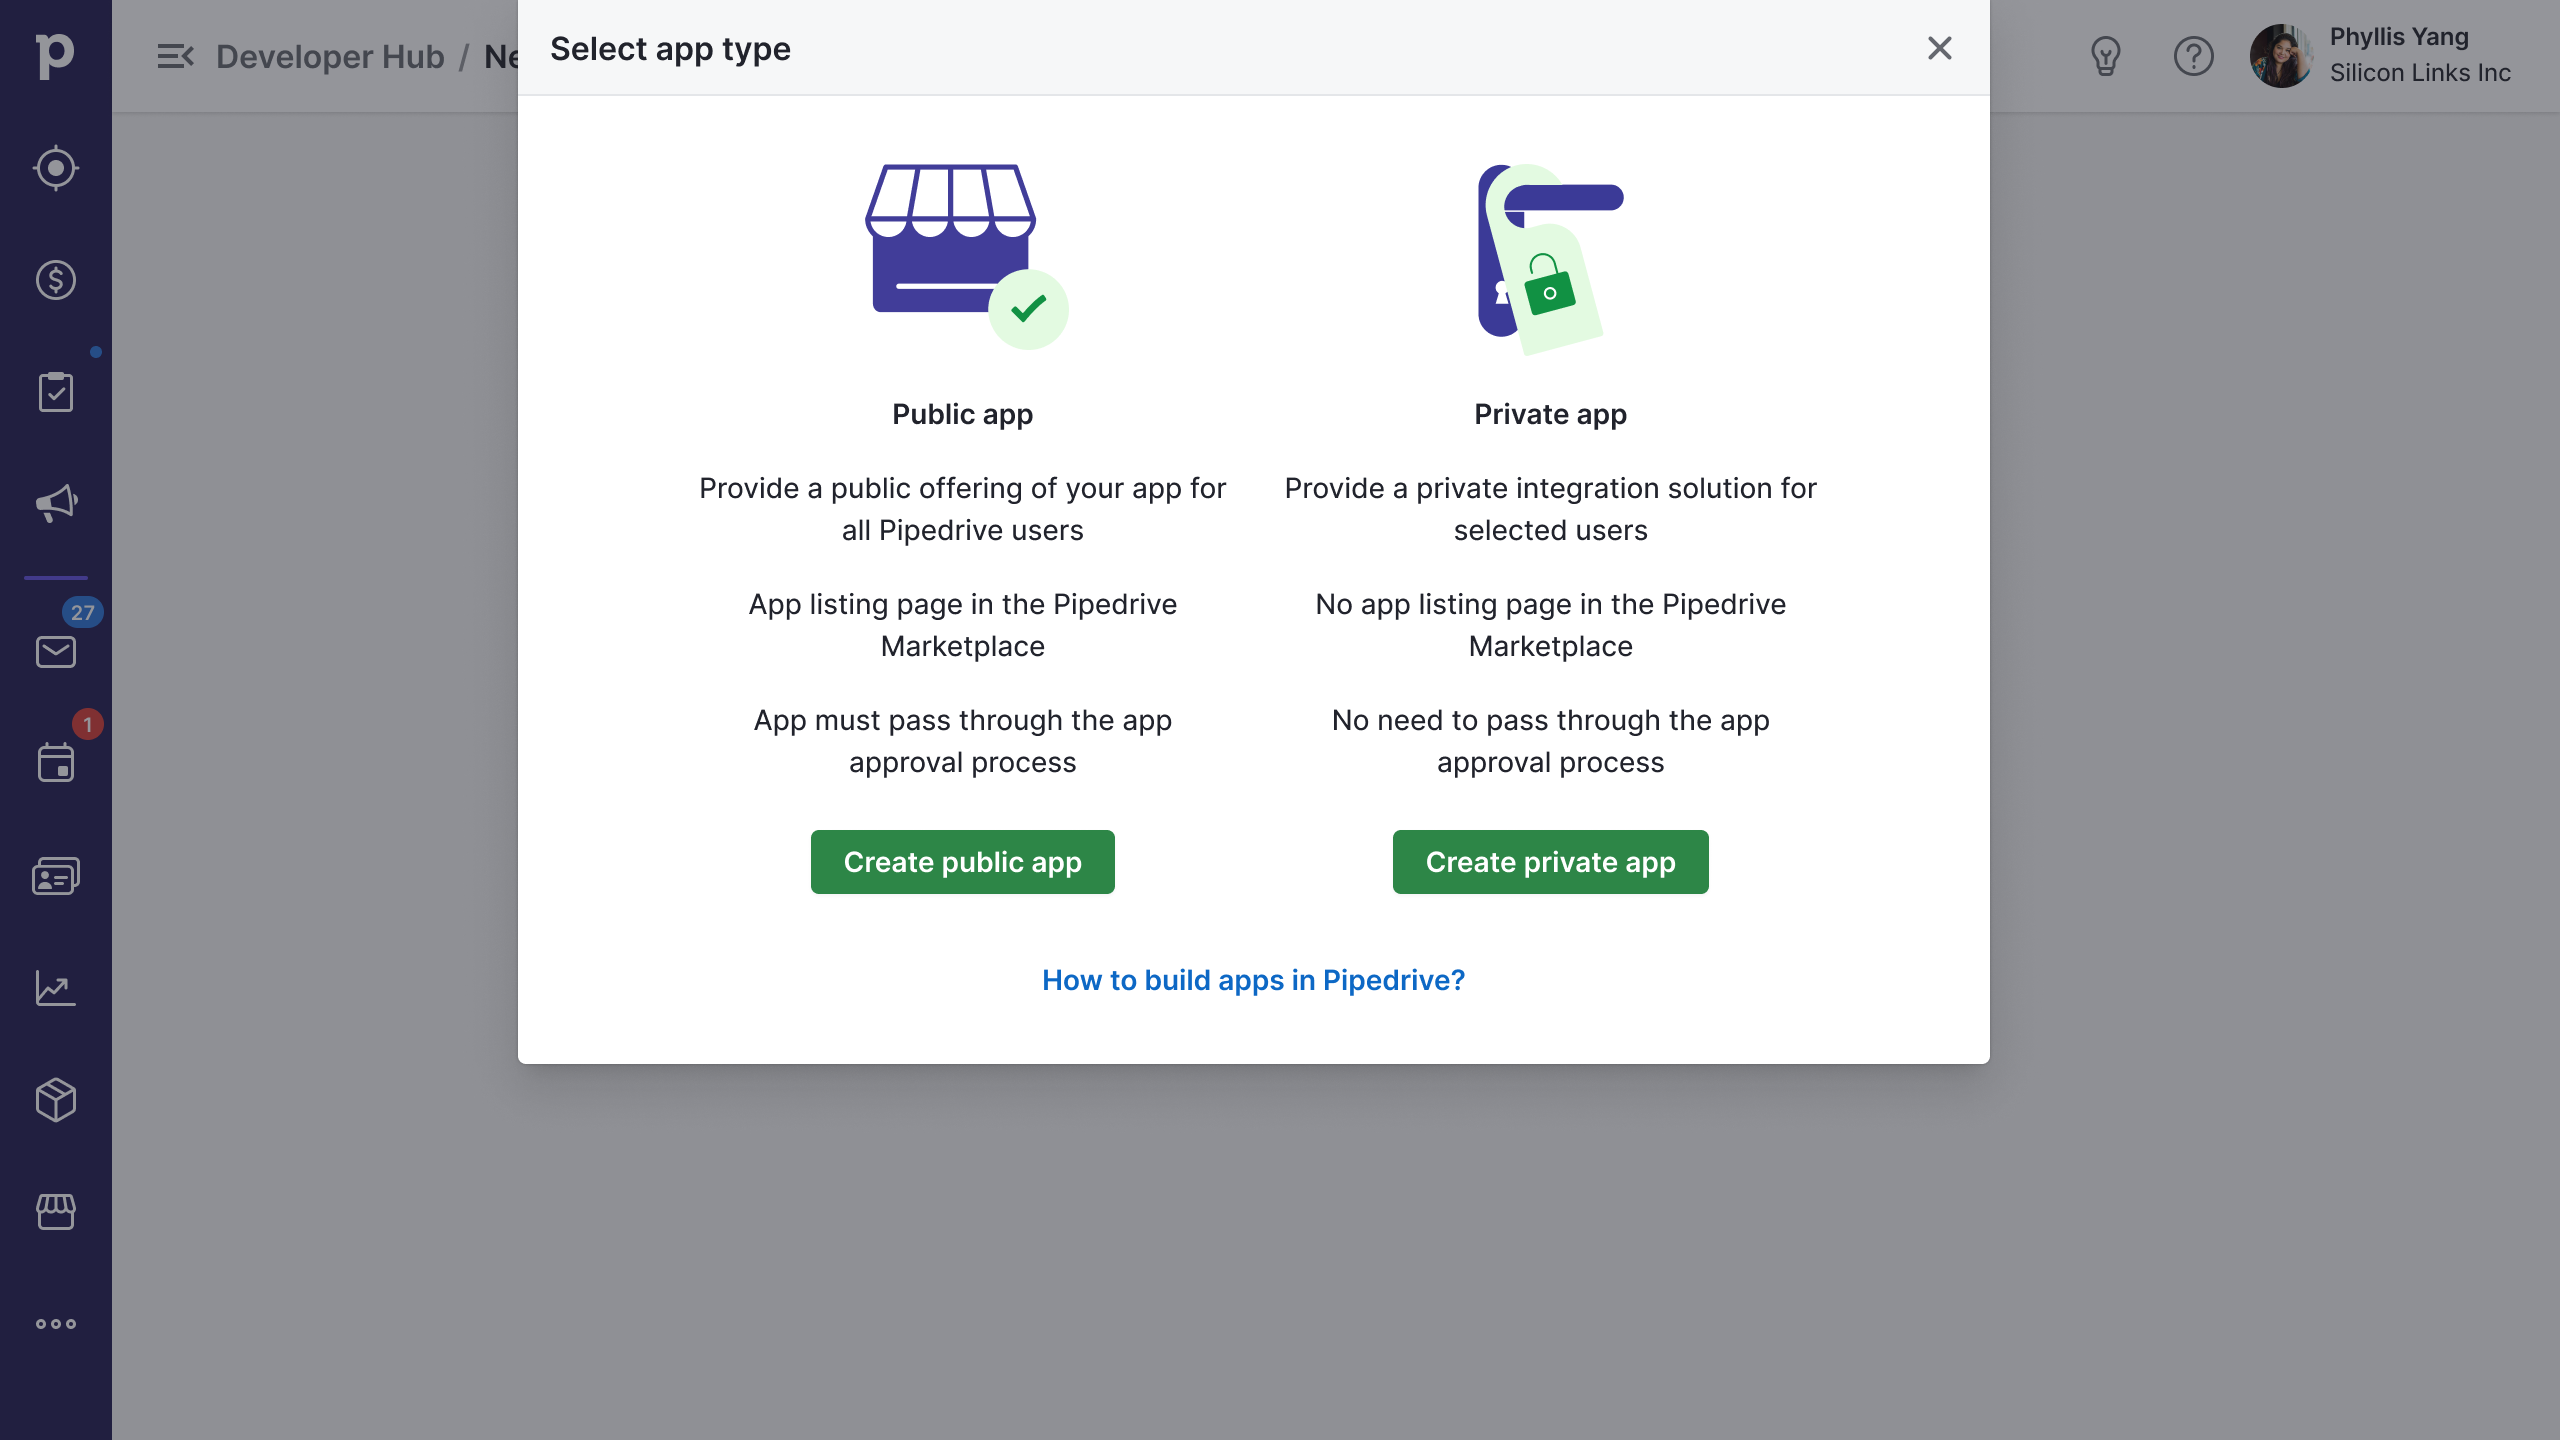
You can create two main types of apps depending on your app's purpose and intended users.

Installed apps aren't company-wide.Every user in a company needs to install or set up their own apps and integrations. Regular users who do not have access to the API can also install their own apps.
Public apps
Public apps are for providing a public offering of your integration to any Pipedrive user. Here are some key characteristics of public apps:
- You can offer your public app in the Pipedrive Marketplace as it will be available to all users
- The app is published to our Marketplace with its own public app listing/landing page
- The app listing in the Pipedrive Marketplace is visible to all Marketplace visitors and search engine crawlers
- Public apps will receive some promotional marketing in collaboration with Pipedrive
- The app manages authentication with OAuth 2.0
- The app has the mandatory installation and uninstallation flows that work smoothly
- The app has to go through Pipedrive’s app approval process
Private apps
Private apps are for providing your integration to selected Pipedrive users/companies. Here are some key characteristics of private apps:
- Live private apps can be shared with any user/company in Pipedrive via a direct, unlisted installation link
- Private apps are not published in the Pipedrive Marketplace and do not have a listing/landing page
- The app doesn’t have to go through the app approval process
- The app manages authentication with OAuth 2.0
- The app has polished installation and uninstallation flows
NB: Do pick your app type carefully, as it cannot be changed later on Developer Hub.
Create an app in 5 simple steps

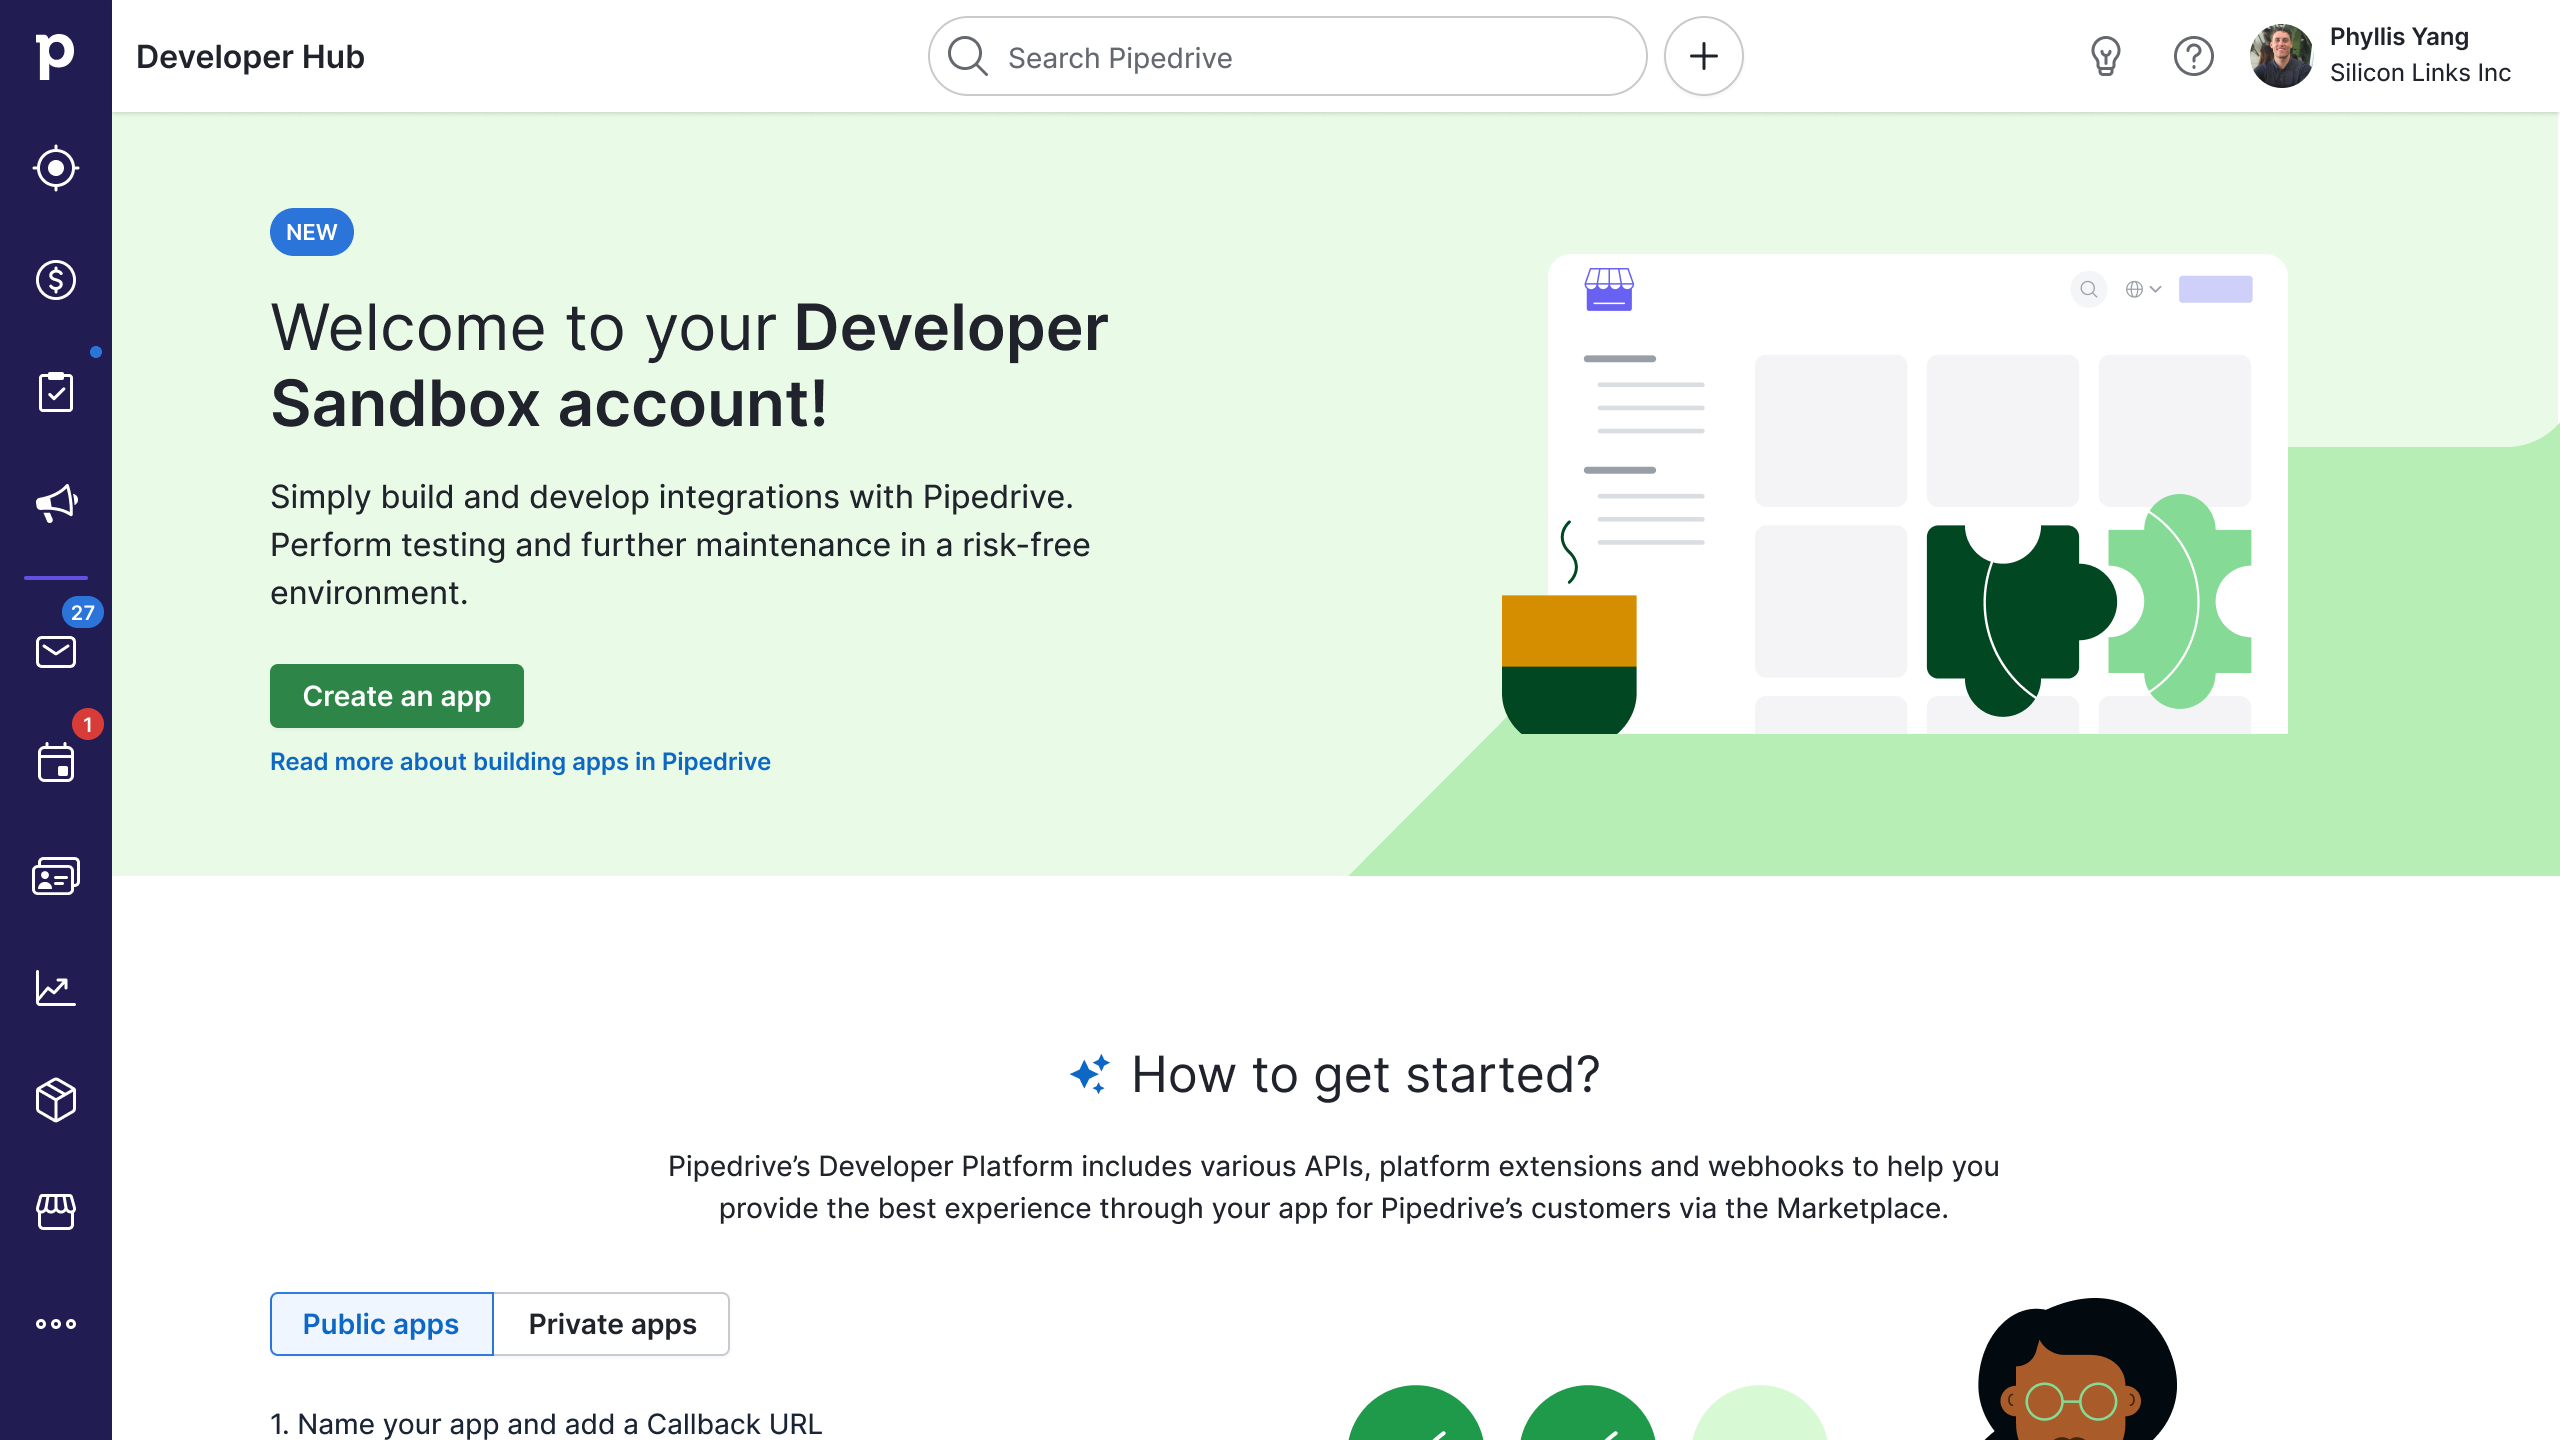
The Pipedrive Developer Hub is where you'll create and manage your apps
Step 1: Request a developer sandbox account
The developer sandbox account is a must-have so you can work on your app in a risk-free environment. Learn more about it here and request an account here.
Step 2: Register your app in the Developer Hub
Developer Hub is a tool to help you create and manage your app and its listing page in the Marketplace. Learn more about it here.
NB: The Developer Hub is where you can get the client_id and client_secret necessary for implementing the OAuth flow.
Step 3: Ensure your app uses OAuth 2.0 and has proper installation flows
All apps (public and private) should manage authentication and authorization using OAuth 2.0 and, subsequently, enable a smooth installation and uninstallation. For OAuth, you need to add server-side code to your app so it performs the OAuth flow.
In the Marketplace, users can decide to “Allow and Install” your app or “Cancel” the installation. It is mandatory for your app to have proper installation flows to handle the various flow scenarios that arise based on the user’s decision. To understand more about installation flows, read more here.
Step 4: Do a quality assurance check
Before submitting your app for approval, review our app approval process checklist and perform quality assurance checks. Go one step further and find out how to get your app approved on the first review.
Step 5: Submit your app for approval
When your app is ready, please fill out the rest of the details of your app listing and submit it for the app approval process. If you plan to share your app in our Marketplace, this step should be done.
If you’re feeling lost, our Developers’ Community is a great place to connect with others to find and share answers.
Key tips for building your app
Create a polished installation flow When users in the Marketplace see your app and want to install it, one click on the “Install now” button will open the OAuth confirmation dialog with scopes and a possibility to “Allow and Install” or “Cancel”.
Based on the user’s decision, multiple flow scenarios may arise. It is mandatory for your app to have smooth installation flows to handle these scenarios. Read more about installation flows here.
Every user in a company needs to install their own apps (and manual integrations). If a user has multiple companies, they’ll need to install every app for each company separately.
Choose your app’s scopes wisely App users have two options: to accept or deny all scopes; there’s no in-between. That’s why we recommend building apps that only request scopes that are absolutely necessary for your particular use case. Read more about scopes and permissions.
Don’t abuse the API; use webhooks
Instead of polling or constantly asking for data, consider using webhooks for apps. This way, you won’t hit the rate limit and will have data coming to you instead.
After creating your app
Manage and update your app After submitting and approving your app, you can update it when changes are required or if you no longer wish to have it public. Learn more about updating and managing your app here.
App rating and reviews

The Pipedrive Marketplace uses a scaled rating system of 1 to 5 stars for all public apps. Users can rate your app and provide a written review that others can upvote. Your app’s star rating score and the number of installs will determine how your app ranks in various categories when filtered by rating.
Updated 3 months ago
